How to Make a WordPress Website with HostGator: Step-by-Step Guide
Welcome to our step-by-step guide on creating a WordPress website using HostGator. Follow these simple steps to get your website up and running quickly and efficiently.
- Access HostGator and Set Up Your Account
- Visit HostGator and sign up for an account if you haven’t already.
- Once logged in, navigate to your website’s settings and click on “Advanced.”
- Scroll down to find and click on “C panel” and then on “Manage.”
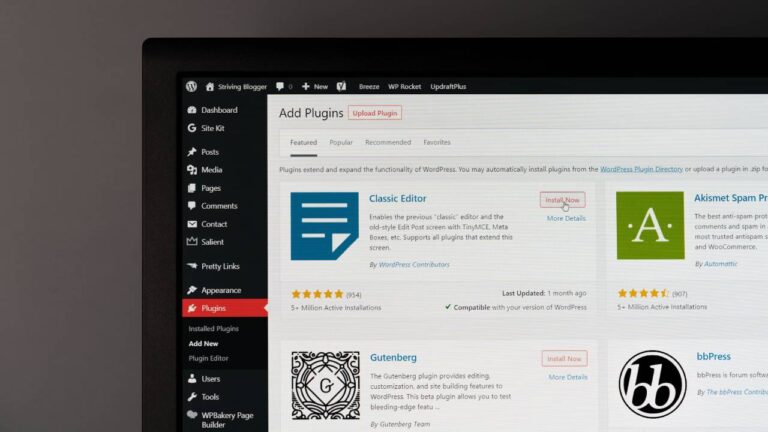
- Install WordPress
- Inside C panel, locate “Software” and click on “WordPress Manager.”
- Select “Install” and choose “https” for security.
- Choose your domain name and opt for the latest WordPress version.
- Provide a name, description, username, strong password, and email address for your WordPress website.
- Customize Your Installation (Optional)
- Choose your desired language and decide whether to install additional plugins during setup. For a clean WordPress install, you may skip this step.
- Advanced Options
- Beginners should avoid modifying database names and prefixes unless you are familiar with these settings.
- Complete Installation
- Click on “Install” and wait for the process to finish (usually under a minute).
- After installation, clear your browser cache to ensure you can see your new WordPress website properly.
- Visit your website, refresh the page, and voila! Your WordPress site is now live on HostGator.
By following these steps, you’ve successfully created a WordPress website on HostGator. Remember to explore further customization options and plugins to enhance your site’s functionality. Happy website building!