How to Transfer a Website from Bluehost to Hostinger
Transferring a website from Bluehost to Hostinger can seem daunting, but with the right steps, it’s straightforward. In this guide, I’ll walk you through each step to ensure a smooth transition.
Step 1: Download Your Website Files
First, log in to your Bluehost account. Navigate to the “Websites” section, then click on “Settings” under the website you want to transfer. Scroll down to “Advanced” and click on “CPanel.” Under the “Files” section, click on “File Manager.” Once inside the “public_html” folder, select all your website files. Right-click to compress these files into a single zip file and then download it to your computer.
Step 2: Export Your Database
Next, you’ll need to export your database. Go back to the CPanel and click on “PHPMyAdmin” under “Databases.” Select your database and click “Export,” then “Go” to download the database file to your computer.
Step 3: Update Your Domain Name Servers (DNS) to Hostinger
To point your domain to Hostinger, go to the “Domains” section in Bluehost, scroll down to “Advanced Tools,” and click on “Manage” next to “Name Servers.” Replace the current name servers with Hostinger’s name servers and save your changes. DNS changes can take anywhere from an hour to 72 hours, but you can continue the transfer process in the meantime.
Step 4: Create a Fresh WordPress Installation on Hostinger
Log in to your Hostinger account, go to “Websites,” and click on “Add Website.” Choose “Empty PHP/HTML Website” since you already have your WordPress files. Enter your domain name and proceed. Hostinger may install WordPress automatically, which you can replace with your backup files.
Step 5: Upload Your Files and Database to Hostinger
After the fresh WordPress installation, delete the default WordPress files from the “public_html” folder on Hostinger. Replace them with the “WP-content” folder from your Bluehost backup to retain your themes, plugins, and uploads.
To upload your database, go to “PHPMyAdmin” on Hostinger, delete the existing tables, and import your database file. If the table prefix differs, update it in the “wp-config.php” file.
Step 6: Finalize the Transfer
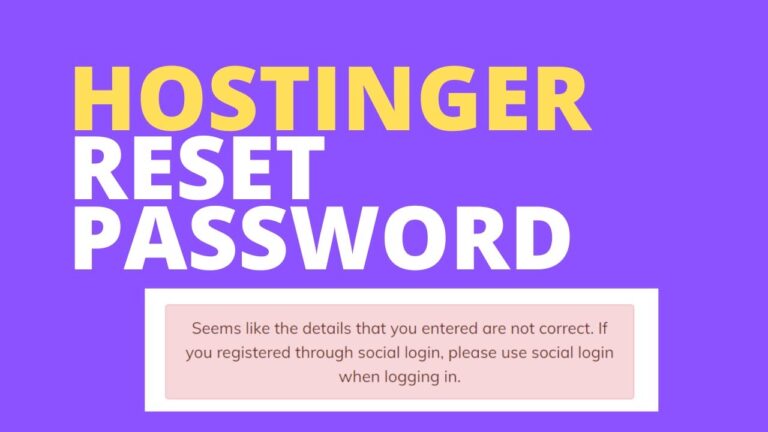
Once everything is in place, refresh your website. You may need to reset your WordPress password, especially if there were issues during the transfer. After logging in with your new credentials, your website should now be fully functional on Hostinger.
Conclusion
That’s it! You’ve successfully transferred your website from Bluehost to Hostinger. If you encounter any issues or need help, feel free to reach out to me at ben@benexperience.com.


